Reactでスライダーを実装したので、実装方法を記録しておきます。
UIに関する実装は自分なりの得意な実装方法を持っておきたいなという気持ちがあります。
なので、今後もUIに関する実装方法は積極的にブログに残していきます。
今回はスライダーということでSwiperというライブラリを使用しました。
https://swiperjs.com/
Swiperは仕事でReactではない環境(Vanilla JS)で使用したことがあったのですが、Reactで使うのは初めてです。
調べてみるとReact Componentが提供されているようなので、それを使ってVanilla JSよりも更に簡単に動かせそうです(Reactだけでなく、VueとSvelteのコンポーネントも提供されているようです)。
以下は公式ドキュメントの最小サンプルです。
// Import Swiper React components
import { Swiper, SwiperSlide } from 'swiper/react';

// Import Swiper styles
import 'swiper/swiper.scss';

export default () => {
  return (
    <Swiper
      spaceBetween={50}
      slidesPerView={3}
      onSlideChange={() => console.log('slide change')}
      onSwiper={(swiper) => console.log(swiper)}
    >
      <SwiperSlide>Slide 1</SwiperSlide>
      <SwiperSlide>Slide 2</SwiperSlide>
      <SwiperSlide>Slide 3</SwiperSlide>
      <SwiperSlide>Slide 4</SwiperSlide>
      ...
    </Swiper>
  );
};
スライダーのスタイルもSassで提供されているので、import 'swiper/swiper.scss'で読み込みます。
Swiperコンポーネントにスライダーの挙動や見た目に関するオプションを指定できます。
SwiperSlideコンポーネントにスライダー要素の実態を埋め込んでおきます。
これだけで動くスライダーができて大変お手軽です。
実際に使ってみる
今回は、ECサイトにありがちな、スライダーの下にサムネイル画像の一覧があり、サムネイル画像をクリックするとスライダー要素も連動して動くものを実装します。
こんなコンポーネントになりました(Next.jsでの実装です)。
SwiperコンポーネントのonSwiperでSwiperインスタンスを受け取ることができるのでそれをstateに持ちます。
Swiperインスタンスが持っているプロパティはとても多く、以下のページにプロパティとメソッドの一覧があります。
https://swiperjs.com/api/#methods
mapのindexをslideTo関数の引数に受け取り、SwiperインスタンスのslideToメソッドを呼び出すことでクリックされたスライド要素へのスライドを実現しています。
import { useState } from 'react';
import { Product } from '@/types';
import Image from 'next/image';
import { Swiper, SwiperSlide } from 'swiper/react';
import SwiperCore, { Navigation, Pagination } from 'swiper';

SwiperCore.use([Navigation, Pagination]);

type Props = {
  product: Product;
};

const ProductImages: React.FC<Props> = ({ product }) => {
  const [swiperInstance, setSwiperInstance] = useState<SwiperCore | null>(null);
  const slideTo = (index: number) => {
    if (!swiperInstance) return;
    swiperInstance.slideTo(index);
  };
  return (
    <>
      {/* スライダー本体 */}
      <Swiper
        spaceBetween={50}
        slidesPerView={1}
        navigation
        pagination={{ clickable: true }}
        onSwiper={(swiper) => setSwiperInstance(swiper)}
      >
        {product.images.map((image) => {
          return (
            <SwiperSlide key={image.id}>
              <Image
                src={image.src}
                alt={product.title}
                width={500}
                height={500}
              />
            </SwiperSlide>
          );
        })}
      </Swiper>

       {/* サムネイル画像一覧 */}
      {product.images.map((image, index) => {
        return (
          <Image
            onClick={() => slideTo(index)}
            key={image.id}
            src={image.src}
            alt={product.title}
            width={100}
            height={100}
          />
        );
      })}
    </>
  );
};


export default ProductImages;
これでできるスライダーはこんな感じです。サムネイル画像(3種類のおにぎりの画像)をクリックするとスライダーもクリックされたサムネイル画像要素までスライドされます。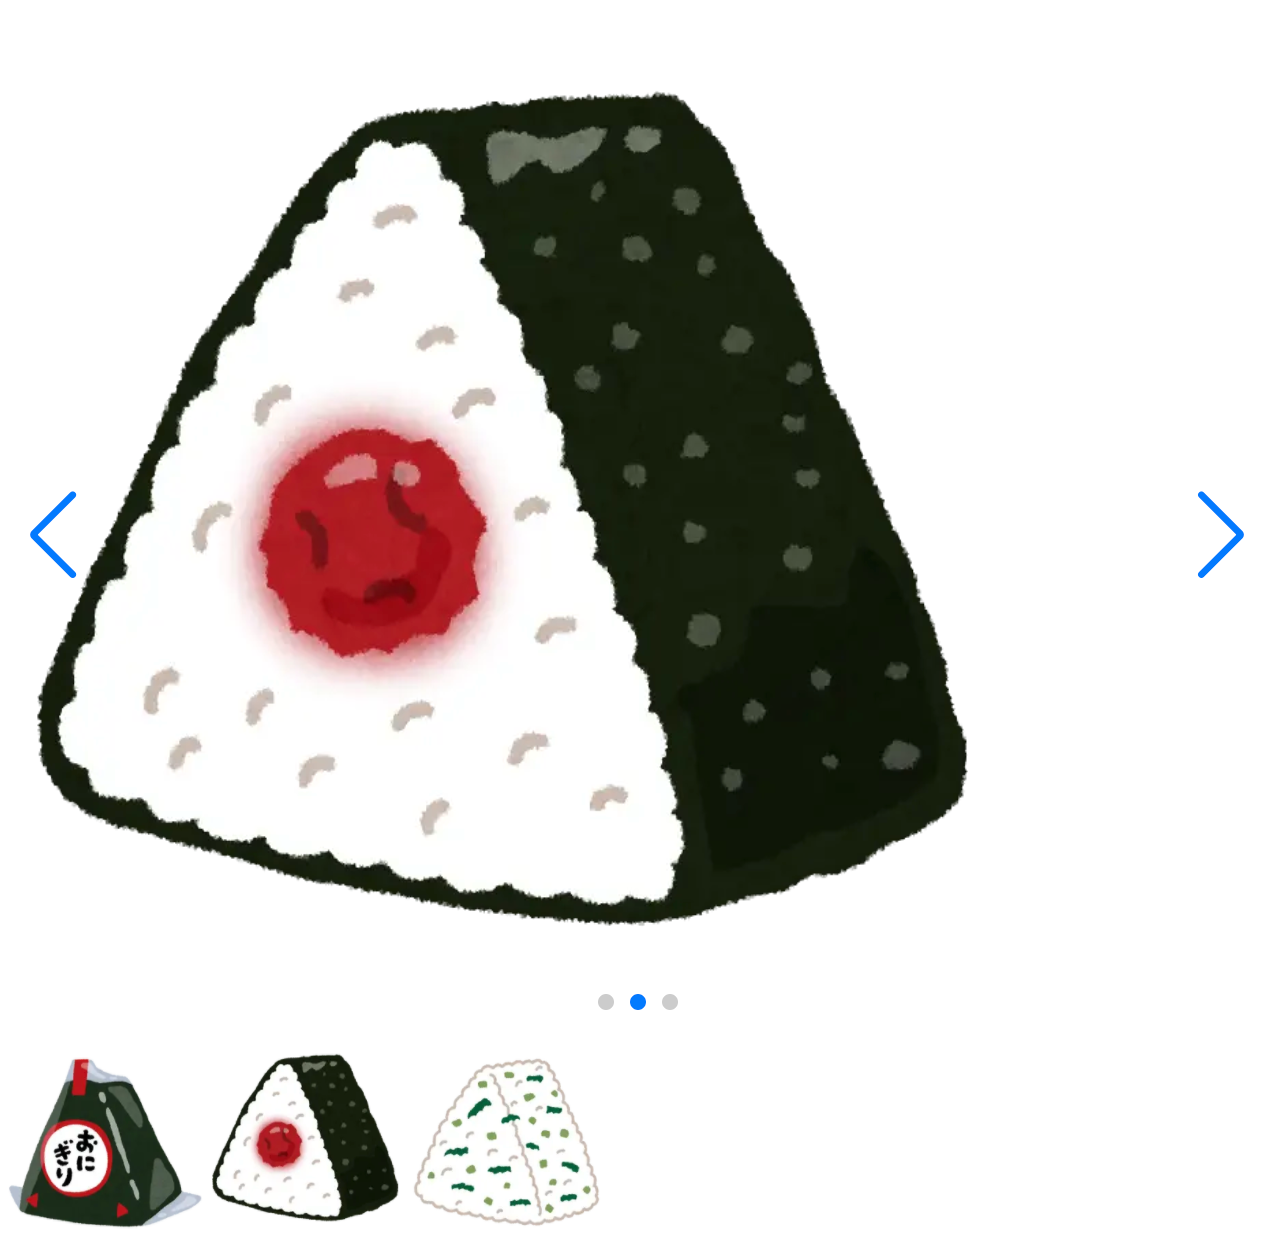
Swiperは他にもページネーションをカスタマイズできたり、アニメーションをつけることができたり、イベントリスナを設定できたりと、とにかく用意されているAPIの量がとても多いのでスライダーに関する大体のことはできそうだなという印象のライブラリです。かつ、APIもシンプルでわかりやすいと思います。
React以外(VueやSvelete)でも使用することができるので学習コストも無駄にはならなそうです。